For my graphic design project, I decided to design a travel and tourism book cover. I chose this because this summer I was lucky enough to travel in Europe and learn a lot about the cultures there and about myself. In the original stages of planning the trip, my dad gave me a tourism book for Sicily and it really helped me in figuring out the places that would be most interesting and thought provoking for me to see. I ended up bringing the book with me on my trip as well and it allowed me to keep changing my plans in the moment and opened me up to more adventure through the information it held. It is for that reason that I chose to design a tourism book cover for the graphic design element to open my blog to the stories that come with traveling in Europe.
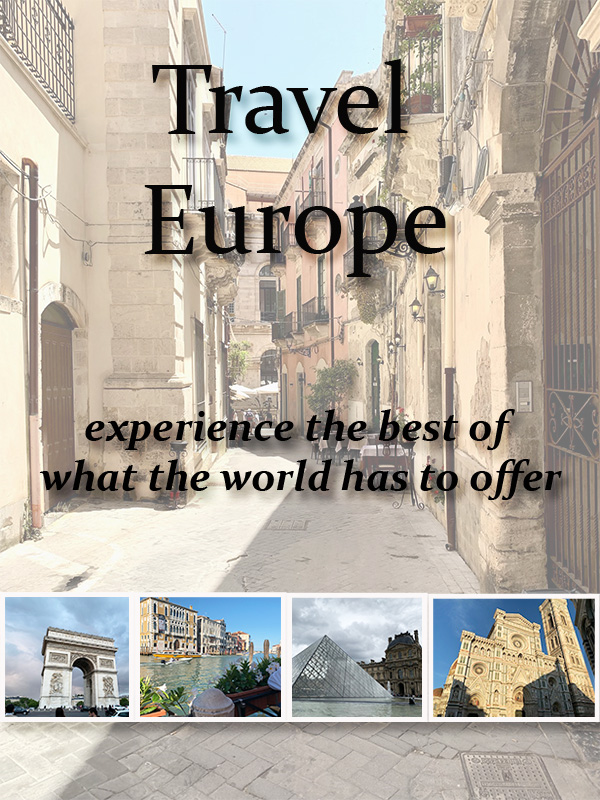
In terms of putting the design together the main design principle that I let guide me was the rule of thirds. In my final draft the two text elements and the strip of photos towards the bottom are all separated and spaced out into a separate third of the frame. I chose to mainly let this principle guide me because I did not want the design to seem top or bottom heavy, but I also did not want the entirety of the design to be right in the middle. I wanted to create a feeling of balance and equal spacing on the cover, and I believe that I have accomplished that.
The process of collecting elements was quite smooth for me, especially for my final draft. I chose to only use photos that I took while on my trip in Europe. This is something that I did decide to change after my draft of the project. I decided to replace the map that I had found on creative commons with a photo that I personally took in Oritigia. I did this to ensure that the photo would still be included while also ensuring that the photos across the bottom that I want to include were able to be larger. The sizing of the photos is the number one critique that I saw and that I got feedback on, and this is how I chose to solve that issue. I just took one of the photos out of the line across the bottom and made it the background and then resized the ones that were left.
I decided to use the information from the Layers Introduction photoshop tutorial to add in a proper border around each of the photos along the bottom as well. I added in the shadowing on each picture and the text on the top of the cover. I feel that these changes helped with the critique that I got about making it seem less flat, and more visually interesting.